
Children learn as they play. Most importantly, in play children learn how to learn.
- O. Fred Donaldson
1, 2, 3, 4....

..... Happy Birthday to me!! *clapped along*

*blow candles*

Mummy, the cake is fingerlicking good! yummy!

Who would have guess what's up in the little mind when Emma quickly poured out all the toys from the pink container and flipped it over? I thought she was a little frustrated as she walked away to pull out another toy after the mess.
She came back with the hammering blocks toy, removed all the the cylindrical blocks and placed them steadily on the back of the pink container. Yay! She exclaimed and started clapping. I felt her sense of achievement to line them in a straight line but that's not the end. She then let out her usual cheeky smile and went on to sing a birthday song. Oh how imaginative, that's a cake! While I was still amazed by all, I joined in her song and asked her to blow the candles, cut the "cake" to eat and share with us.
After that day, this has became one of her favourite pretend play.

Our family spent most of the time playing, running, reading, chilling and eating at the living hall, dining area and kitchen. Thus, it only make sense for us to have some toys out of Emma's bedroom if we want to keep her in sight while at work like doing dishes or cooking. To save walking to and fro the room, we gradually migrated her toys into big plastic containers that were pushed under the TV console and her soft toys were piled up on an arm chair.
With the growing toys collection (thank you all doting grandparents, uncles and aunties!) and mess slowly eating up our spaces, I was motivated to create some cosy corners for Emma to put things in place. After 4 months of doing up things in bits and pieces, I'm excited to share the various corners and how I personalise her space with some affordable handmade stuff.
Play Corner
This IKEA Trofast storage system has became my new favourite storage solution!
Other than keeping the mess out of sight, it also matches our theme and adds more colour to the house. It sits opposite our dining area and is sandwiched between our open concept kitchen and living hall so it's convenient to return the toys back to their home. There are 12 drawers, both shallow and deep ones, to store and organise different types of toys. The drawers are easily to pull and push so Emma won't jam her fingers. However, we need to remind her not to pull the drawer too far out so that it won't fall on her.

It also provides a perfect table top for me to showcase some precious photos, the one & only calligraphy pen that is made out of Emma's new born hair and an unique church music box that my girlfriend gave me as Christmas present last year.

Towards the left, we had letters blocks of our initials! If God allows, we hope to get in a m and set up a TeAm! :D

We usually pull out one or two drawers/containers and bring them over to the playmat for Emma to play. If not, she's free to explore the drawers and pick out toys that she wants to play. It's easy to pack up as we just need to throw everything back to the drawers.

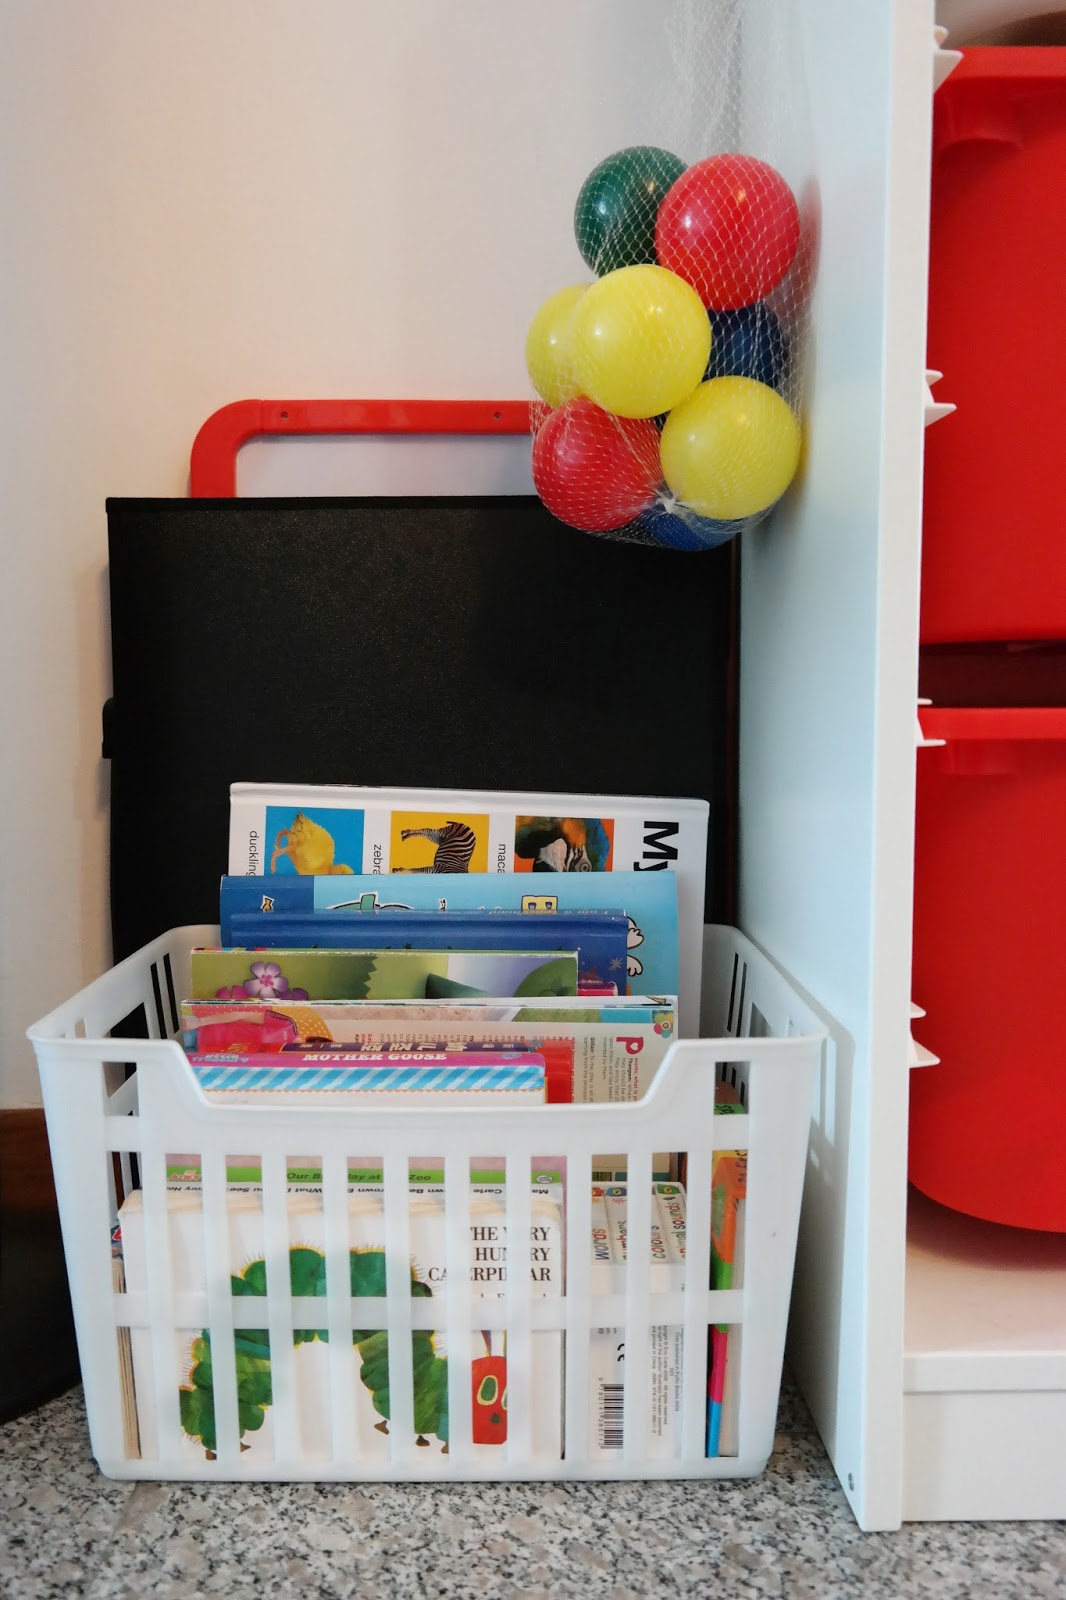
At the left side of the Trofast, I put a basket of frequently read books on the floor so that Emma can pick them easily. We'd repeated the books so many times and she now remember most titles and completes some sentences of the stories. We probably need to plan for a bookcase sometime later.
Study Corner
Emma started more table activities like doodling and colouring since she started playgroup few months back. Hence, we bought her a small table and chair (IKEA again!) so that she can do the same at home. On the right is where we put up the DIY alphabet learning board and go through with her.
Instead of getting the white table set, we decided to save and get the non-wooden one that costs $60 cheaper. However, it didn't take long for them to become an eyesore to me as it simply didn't match the living hall. One day, a brilliant idea struck me and I bought some wallpaper laminate for their makeover. This got to be my most time consuming DIY project but I love how they turn out to be!

I'm glad to find one that goes well with the theme - white with cute little red buses, cars and ferris wheels! To brighten up the space, I set up a mini photo gallery above the table. It's lovely to watch and compare how she changes over the days when we do our stuff at the table.

Bedroom for Sleep and Change
I love how spacious the rooms of older houses are as it fits an amazing amount of furniture. Emma's room used to be our study and each of us have a 1.8m long working table. Don't ask me why we got such big tables! haha.
In order to make space for her, we now shared one on the shorter side of the room and all her stuff - cot, changing table, dresser and 2-doors wardrobe on the other. How I wish to say that this post is sponsored by IKEA! Other than the cot, all Emma's furniture are all bought from from IKEA. Only if their cot is bigger, we'd get one from them too!
The changing table on the right serve us well and save our breaking backs. I think it probably takes a couple more months to do away without it and we shall see how to repurpose it into a bookshelves or nicer storage. The 2 shelves below currently hold some bulky toys, big containers and basket of soft toys.

Have you spotted something familiar? I laminated the bars of the cot with the remaining wallpaper to hide the yellowing plastic portion of the bars. The side of the cot is always up but I lowered it so that the cute Cony can be in the picture too. Emma has been sleeping by herself since she was a baby but she usually get a couple of friends to accompany her.

I'm a big fan of colourful bunting as they always livens up the room. Besides, it's fun, cheap and easy to DIY them for home decor and parties! The old one fell off some time back and it's time to get a new one up! This time, I did up a really simple one that just needs to be printed, cut and paste (template at the end of this post!)
I added some touch of pink to the bunting to match Emma's mattress sheet and attached a pink/red owl above the line. Isn't the owl cute? *Hoot hoot*

To the right to the changing table, we have a dresser for Emma's clothes and wardrobe for the boxes of outgrown clothes and more bulky items. Oh well, it acts more like a store room than a wardrobe since we were running out of storage. Our store room was knocked down by previous owner for bigger room spaces and we didn't build it back.
On top of the dresser, there are small boxes to hold the stuff for diaper changing and a grey container that was too tall to squeeze into any shelve hence I used it as a laundry basket for Emma's worn clothes. I try to include some lovely reminders around the house so I used a silver paint marker to draw up my favourite bible verse on the container.
The "E" container, wrapped up for her first birthday party, is used to store her accessories. Lastly, we had a heart shaped poster, made up of Emma's 52 weekly photos, on the wall to show how she has changed throughout her first year! I have yet to find a pocket friendly A3 frame, please let me know if you see any around! Thanks!

As much as I like to build an ideal house that is beautiful and elegant, I love to have a home that is full of love, joy, peace and hope too! I pray that our family will continue to trust the Lord with all our heart and may our home be a place where we could praise, pray and please the Lord!
*****
This post is part of the "Small Spaces" blog train hosted by Justina from Making Mum. Click on the badge below to read about how other mummies set up their child friendly spaces!

Next up on blog train is Zhenzhu, a homeschooling mum to two knights and one Princess. Everyday she is pondering over their routine and daydreaming about how to let the kids have more outdoor time and how to maximize their free time at home. In the upcoming post on www.stayathomemumof3.com, she will be sharing her tinkering space for the kids.
*****
It's fun, easy and cheap to DIY a bunting for home decor or parties. Click here for the template and feel free to drop me a message if you need any help!
Nice space! And love how you personalised the table set with the wallpaper! Love, love love!
ReplyDeleteHi! Thanks for dropping by! :D the effort all worthwhile!
Delete